When you first start the application, you will see a menu like the one below. Don't let this scare you, we feel cold when we first enter the water. You can see the menu blocks by hovering your pointer over the image. RetroArch's menu is called Ozone and its goal is a being modern and fast menu experience. Ozone's simple user interface shows you everything you have access to. Note the way the interface appears on the screen: the main categories are on the left, subcategories are in the middle, and the selections are on the right.

This is your sidebar and navigating this menu will also change the main menu in the middle of the screen. Except for Main Menu and Settings, most options are playlists and can be changed, but those two options are built into the application.
This is your main screen and the screen will not change unless you confirm the selection. For example, when you go to Settings in your Sidebar, it will change. When you select any option in Settings, the relevant menu will appear.
This is the notification tab connected to your system, where you can see the time and date. You can hide it or change the clock type.
This is the part that shows your selection values. You can see the version on the left.
You can find more information for Ozone at this page.
Controls
RetroArch is intended to be easily controlled with a controller. RetroArch uses the overall term controller which encompasses all input hardware that could be described by the terms joypad, gamepad, joystick, and others.
RetroArch works on many platforms. Each of these platforms has one or more input systems. These input systems in turn differ widely in the way they enumerate the pad buttons. For this reason, your joypad buttons may be mapped differently depending on if you are using Windows, Mac, or Linux.
Navigating on RetroArch is as easy as you can imagine. Depending on the device you have, the control scheme is determined automatically. For example, if you are going to use it on a computer, the basic key combinations of the keyboard will apply. You move with the arrow keys and select with the Enter key, and you return with the Backspace key. If you plug in a controller, you can also move with the D-Pad keys.

See the keys
| User 1 Keyboard | Default RetroPad Mapping |
|---|---|
 |
 |
 |
 |
 |
 |
 |
 |
 |
 |
 |
 |
 |
 |
 |
 |
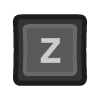 |
 |
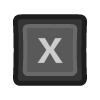 |
 |
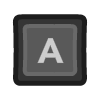 |
 |
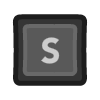 |
 |
In the example below, we can navigate the menus with the arrow keys of the keyboard. If I had installed it on Vita, I would still navigate the menu with the arrow keys.
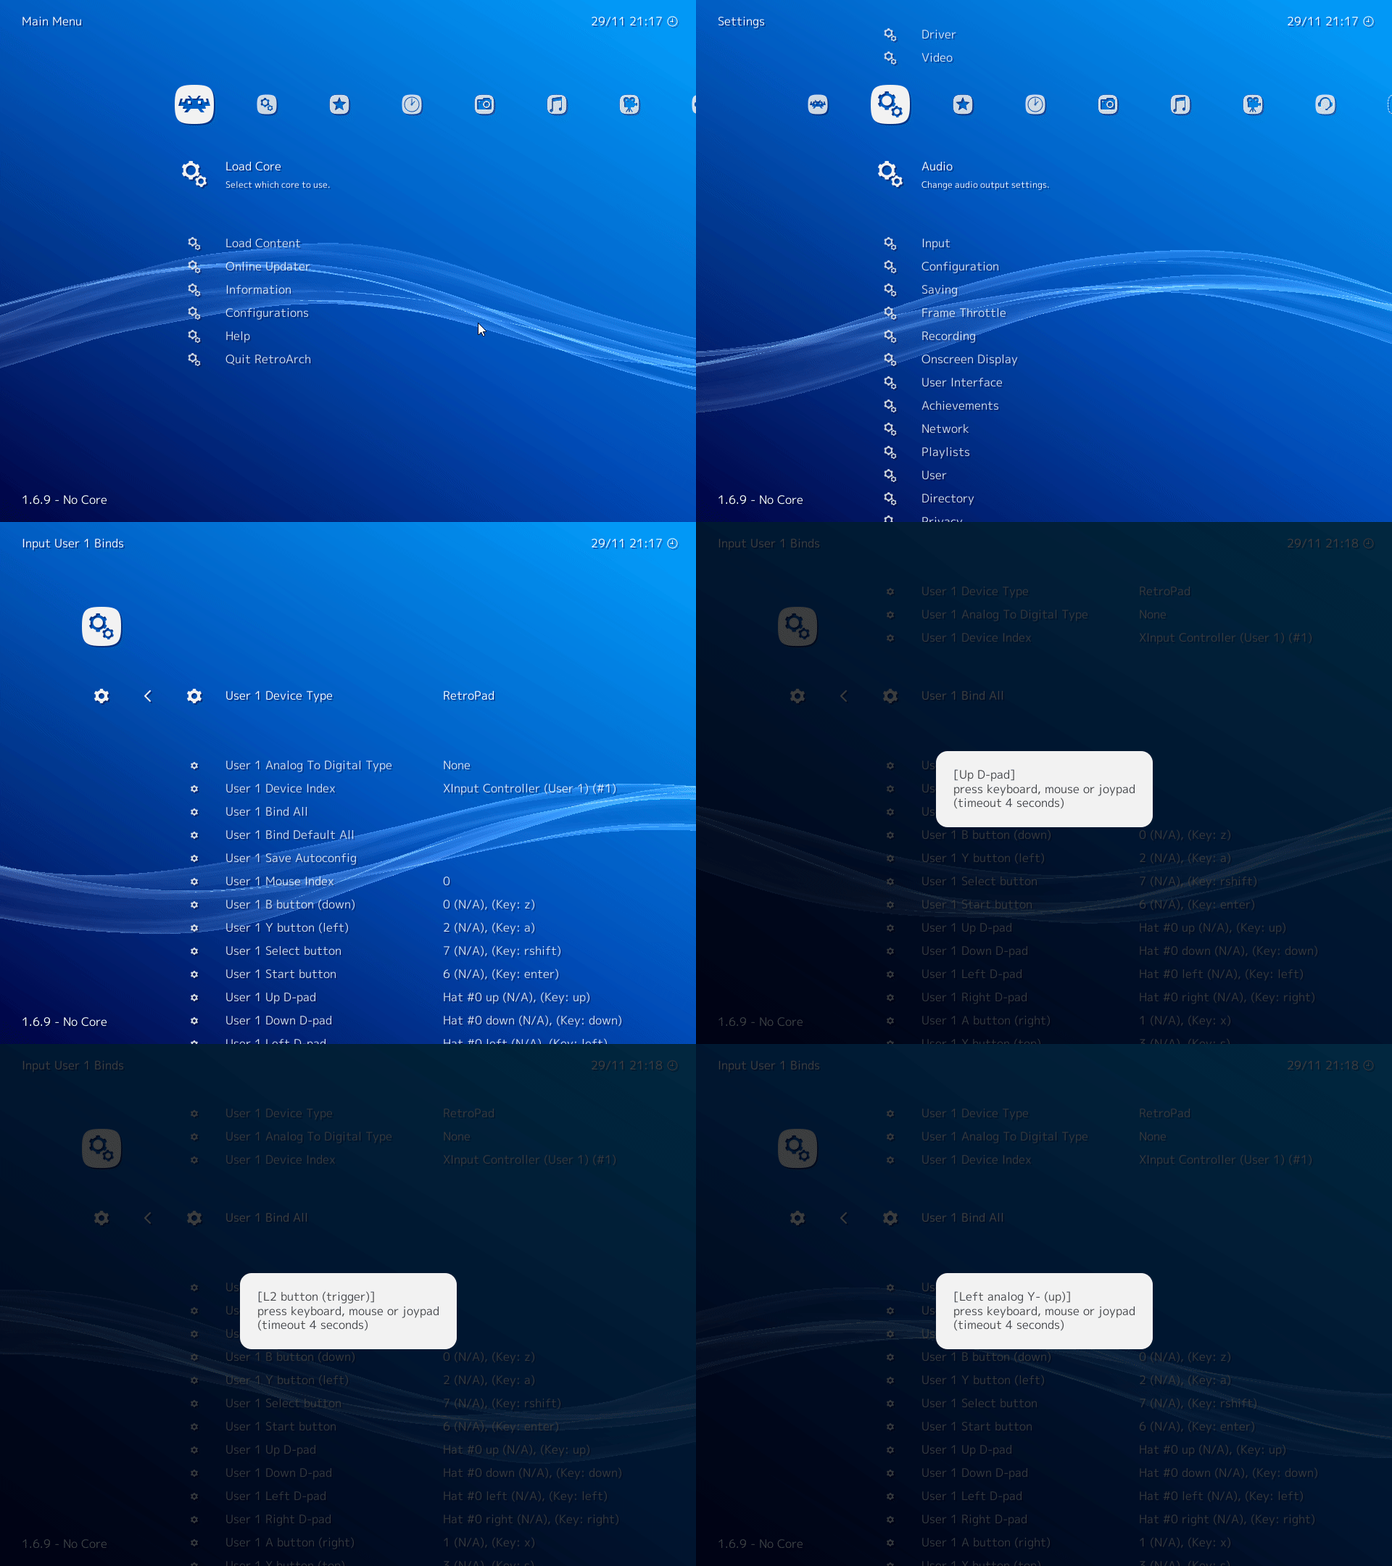 You can find more information for keys at this page.
If we feel more comfortable with the menu and navigation, we can move on to the last station.